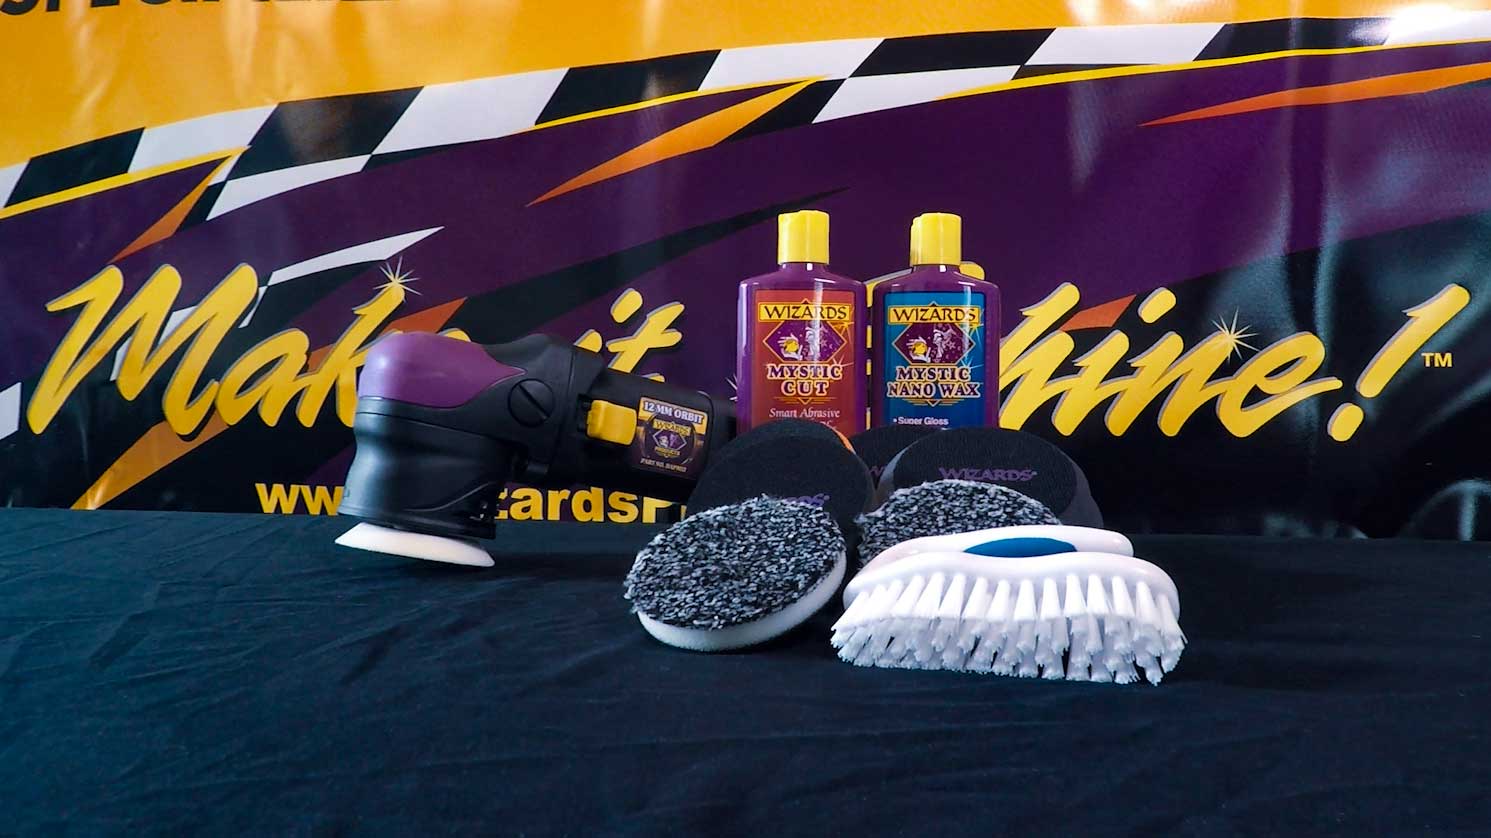
Our Aim
We have been serving show car enthusiasts, fussy customers and resellers since 1986. Our goal has always been to offer our customers the highest quality products for exceptional vehicle appearance. Coupling our industry experience with valuable customer feedback, we have worked diligently to create new products to add to our quality line. Each item in our family of products is unique, performs excellently and offers great repeat sales for our distributors and resellers.

Our Vision
Brand name recognition and consistent customer demand, combined with a dedicated, professional team, has allowed us to become a volume and service leader in the vehicle appearance arena. We trust that you will be pleased with our products as well as impressed with our level of dedication to your success.

Our Mission
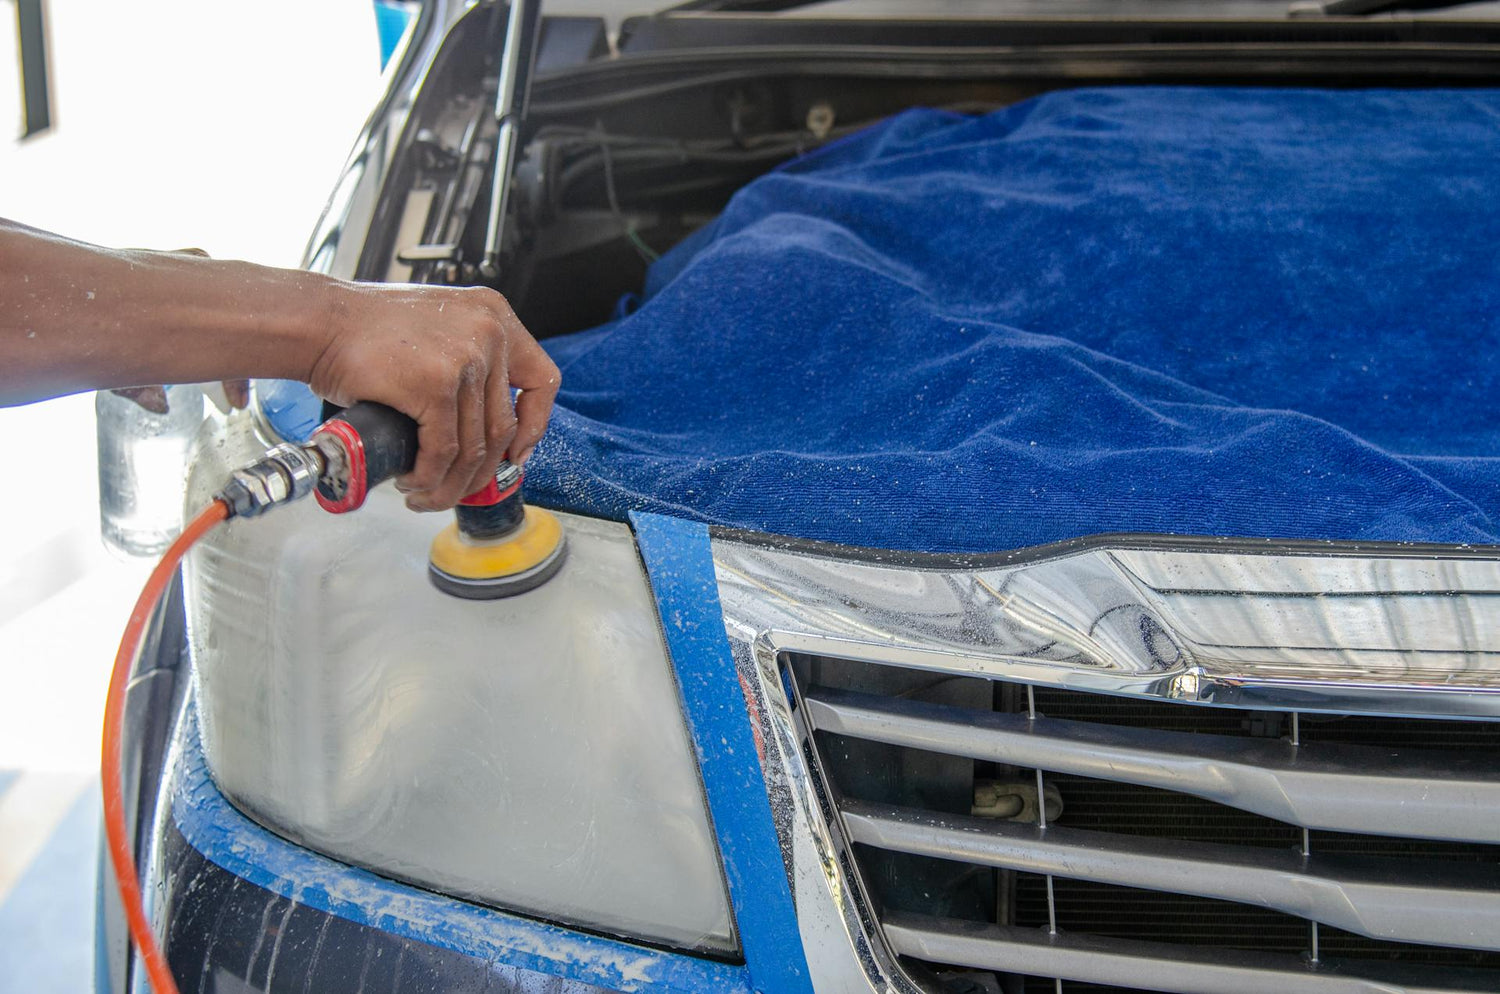
At Wizards Make It Shine, our mission is simple: to revolutionize the way you care for your car. We believe that every vehicle deserves to look its best, and we're committed to providing you with the tools and products to make that happen. Our mission is to empower car enthusiasts and everyday drivers alike to achieve a showroom shine with ease and confidence.